
This is a pop bottle windspinner that anyone can make. It makes a great kids project and is something that you could throw together while sitting out on your deck in the summertime. To make one of these, you would need a plastic pop bottle (I used a 2L pop bottle), a permanent marker, a knife, a measuring tape, a pair of scissors, some glue, and a wire coat hanger. You can follow the steps here to make one.
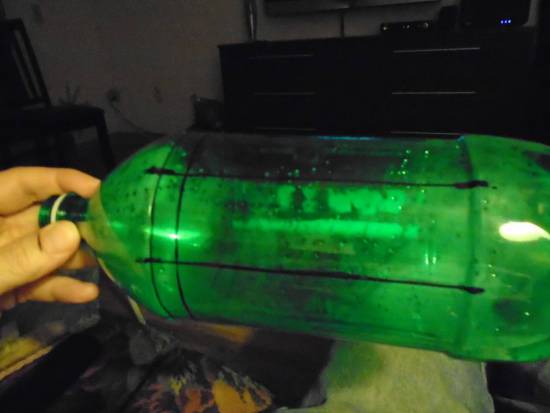
Step 1: Find the parting lines on a 2L pop bottle (the molding lines – there will be two – one on each side of the bottle), and mark them from top to bottom with your felt tipped pen.
Step 2: Measure the distance between the two parting lines and draw another line in the center of each of the two parting lines. In my case, the parting lines were a distance of 6-5/8″ apart, so I drew a line at 3-5/16″ from each parting line. So now there are 4 lines drawn on the bottle.
Step 3: Find the halfway mark of the drawn lines and draw another line at the halfway mark of each of the drawn lines. You should have 8 equally spaced lines drawn on the bottle, drawn from top to bottom.
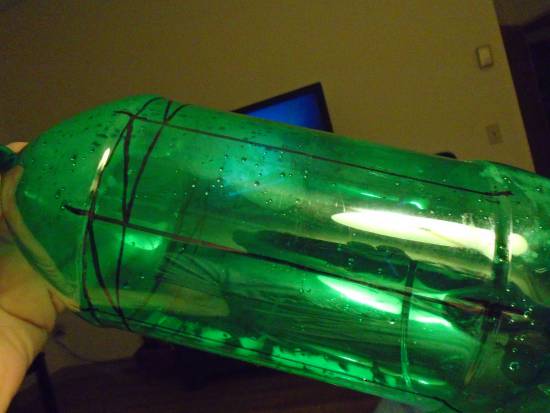
Step 4: Draw two more lines around the bottle at the top end of the bottle. These lines should be spaced 1/2″ apart, as shown.
Step 5: Draw several diagonal lines joining the corners of the 1/2″ spaced lines as shown here. These lines aren’t really necessary, but I have added them to show you how the blades will be folded, after they have been cut.
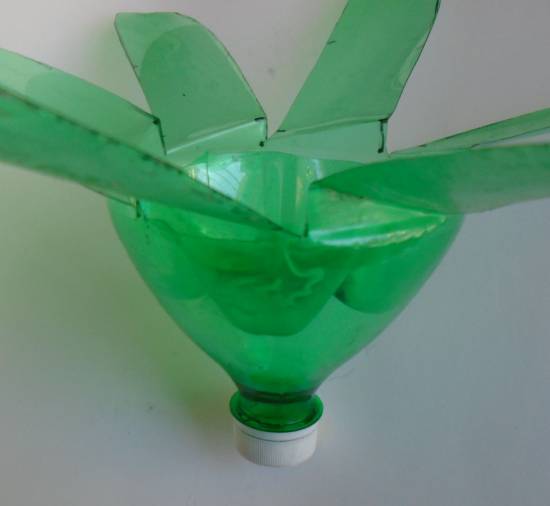
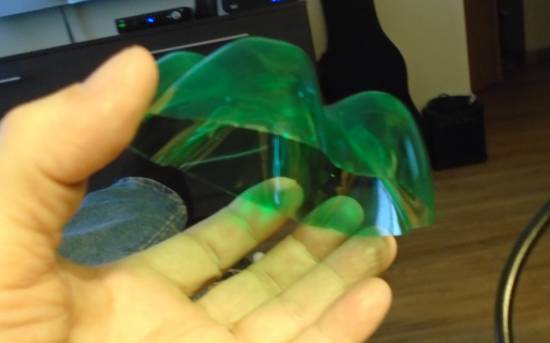
Step 6: Cut the bottom end of the bottle off. Cut it off along the mold line. Then cut each blade down to the mold line at the top of the bottle (the furthest wrap around line at the top of the bottle).
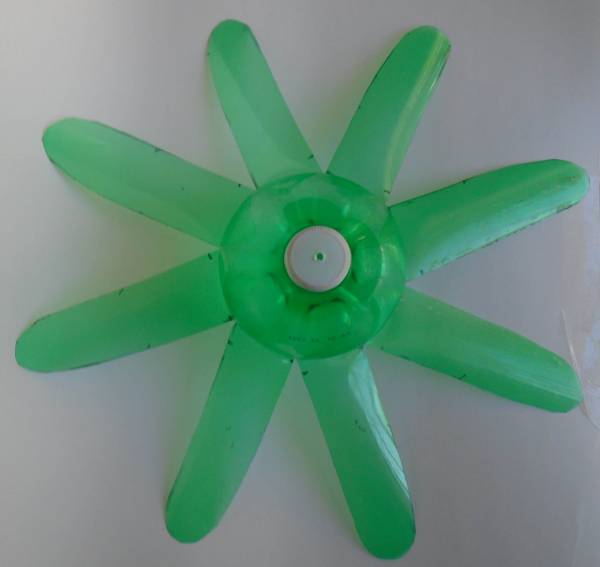
Step 7: Fold each blade back along the diagonal lines. Fold them up until they are perpendicular to the axis of the bottle. You can trim the ends of the blades to a round shape at this point.
Step 8: Remove the cap and drill, melt, or punch a hole through it (with a hot nail, or…). Locate the hole in the exact center of the cap, or the spinner will be offset when it turns. Do the same with the bottom end of the bottle. The holes in the cap and bottom end should be just large enough so that a wire coat hanger can pass through them (or large enough for whatever other wire you might be using to mount the spinner).
Step 9: Trim the bottom part of the bottle (that was cut off) so that it will slide into the main body of the spinner.
Step 10: Glue the bottom part into the main body using either a hot glue gun or contact cement. During gluing, position the bottom end so that the holes are aligned (hole in the cap and hole in what was the bottom piece). You can pass the wire that you have through both parts to ensure that the two pieces are aligned during gluing.
Step 11: After the glue has dried, cut and straighten a coat hanger as much as possible. Or, you can use any other wire or rod, if you have something suitable on hand. You will need about 36 inches of wire. Something about 3/32″ in diameter will work. Take one end and form a tight loop in the wire. This will prevent the spinner from falling off.

Step 12: Slide the spinner onto the wire, so that the bottle cap end of the spinner is facing the looped end of the wire. You can face the spinner the other way, but if you face the scooped sides of the blades into the wind, it will spin way faster. If you position it the other way, it won’t spin very fast and will tend to climb up the mounting wire.
Bend the wire at about 18″-20″ from the loop. Bend to about 90 degrees, or maybe slightly more. Gravity will hold the spinner at the end of the mounting rod.
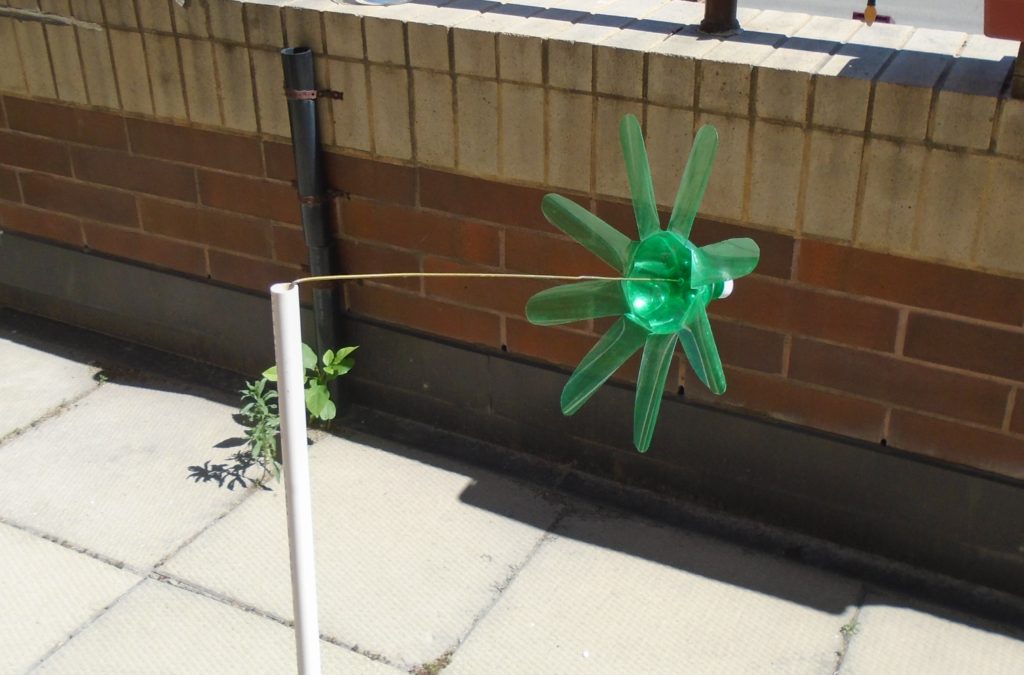
Step 13: Drop the bent end of the wire into an upright tube (this can be anything that you might have hanging around). I have used pieces of pvc tube either pushed into the ground, or tie wrapped onto a fence post or deck rail, etc. I think any hollow tube could be used here.